VAC Was Unable to Verify the Game Session: Computer makers often include a special token of facilities in the computer for a splendid gaming experience. The developments that took place in the area of regular games, together with growing demand led to the creation of virtual games. Virtual games are not recent developments but the improvements in gaming experience are unique in this area. Prevalent in various cultural settings, these games are undeniably quite fun.
For a fair and non-ludicrous experience in online settings, these games have provided an interesting protection technique called Valve Anti-cheat System or VAC. The rudimentary idea for this utility is to protect the ignorant user against the masses, who uses cheat codes to artificially heighten their chances of winning. Popular games like ‘Counter-Strike: Global Offensive‘ started incorporating this utility system. However, the unfair world seems to have a greater reach. Somehow, there exists a chance for the VAC system to fall short of its expected capabilities.
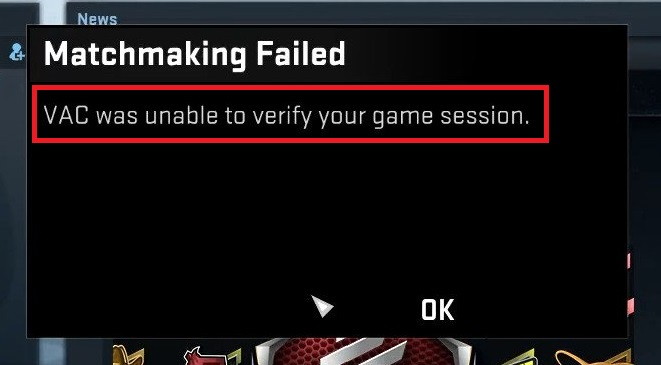
This is when an error message pops-up on the screen which reads ‘VAC was unable to verify your game session’. Users usually encounter this error during the matchmaking process i.e. when Steam connects two virtual gamers. The error can also be a result of cheating. If so, one should stop the application or undo the particular enhancement and then try running the game.
Contents
How to Fix VAC Was Unable to Verify Your Game Session in Counter-Strike: Global Offensive
However, if you have not done any modifications to cheat then some other underlying cause is creating the problem. The user will need to detect this problem and rectify it. Let us look at possible methods to solve the problem and also try to make sure that the VAC system stays intact.
Method 1 – Re-Login into your Steam Account
There is a good chance that there has been some change in the regular operating system framework which might be misbehaving here. The alteration might be causing some indirect or direct stimulus to the VAC system, which indeed, is stemming from the error. One simple troubleshooting solution is to log out and re-login into your steam account. The process can restore the complete facilities of the VAC. For this, simply execute the following steps.
Step 1: To begin with, run the digital distribution platform Steam on your computer.
Step 2: Once the application boots up, navigate for your profile name. It must be visible on the title bar at the top of the window.
Step 3: Hit your profile name and then select ‘Log out of my account‘ from the drop-down menu that appears. Then, follow the on-screen prompts.

Step 4: After logging out successfully, re-login into your account. If you do not recollect your password then click on ‘Forgot password’. Follow the on-screen prompts to reset the password and login to your account.
Reinstalling the game or reinstalling steam may not be an appropriate solution. Logging out and then logging in to your steam account is the only manner to exert the required effect. If this solution does turn out to be a charm, use the following solutions to rectify the VAC Was Unable to Verify the Game Session error.
Read More:
- Microsoft Compatibility Telemetry High Disk Usage in Windows 10
- No Sound Output Device Installed Error in Computer
- Error Code: 0x80070005 – Windows 10 Update Error
- DNS_Probe_Finished_No_Internet Error in Google Chrome
- ERR_NAME_NOT_RESOLVED Error in Chrome
Method 2 – Restart Your Computer
In order to function, the Valve Anti-cheat System utilizes certain computer items to protect the dignity of genuine users. These items might be already in use by other external applications like the anti-virus software. This reduces the availability of the required applications to VAC, making it vulnerable to pose the error. The cure here is to restart your computer device and try running Steam again. For the sake of clarity, perform the following steps.
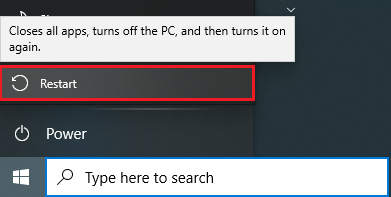
Step 1: Click on the Windows logo situated at the bottom left of the screen or simply press the Window logo key on your keyboard.
Step 2: The start menu will appear. Lastly, press the power icon and click on ‘Shut down‘. Make sure to save the data of the respective application before restarting.
Method 3 – Check the Integrity of Game Files
Another solution is to check whether the games files and the steam distributors properly correlate with each other. The external file, hampering with the system and creating mischief, might be a corrupt file. The presence of the corrupt file is problematic and it might be instrumental in the creation of this error. To check the game files with the Steam client, execute the following steps.
Step 1: To begin with, launch the Steam application on your device.
Step 2: Now, click the ‘Library‘ option from the top.

Step 3: A list of all the installed games will be visible. Navigate the game which was posing the error and right-click on the Game icon. From the contextual menu that appears, click on ‘Properties‘.

Step 4: Now, from the options visible at the top of the screen, select the ‘Local Files‘ tab.
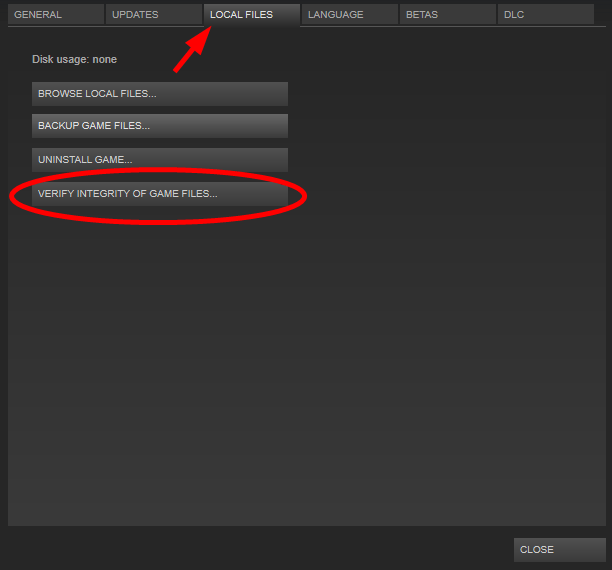
Step 5: Lastly, hit ‘Verify integrity of the game files‘ to begin the process. The process may take some time depending upon the size of the game. Wait till the process gets over.
After the successful completion of the verification process, launch the game and check if the VAC Was Unable to Verify the Game Session error persists.
Method 4 – Repair the Steam.exe
There is a good chance that the Steam client itself is misbehaving and causing the error. The client may include some damaged or corrupt files or incomplete system configuration which might be resulting in the error. The solution is to repair the Steam client. Perform the following steps for the same.
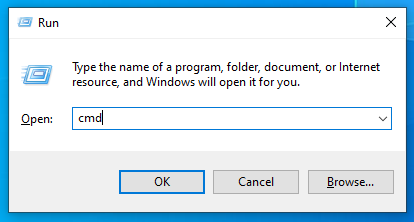
Step 1: To begin with, press the Windows logo key + R at the same time.
Step 2: A run dialog box will appear. Type ‘cmd‘ in the address bar and then press enter.
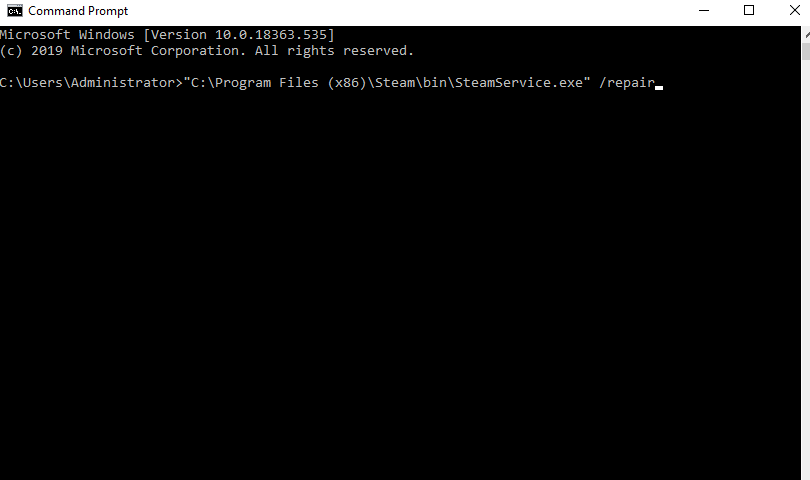
Step 3: The command prompt window will appear on the screen. Simply copy and paste the following and press enter to run the command. "C:\Program Files (x86)\Steam\bin\SteamService.exe" /repair
Step 4: Wait until the process is complete.
Now, reboot your device so that the new settings can take effect. Then launch the steam app and log yourself in if required. Open the game that was posing the VAC Was Unable to Verify the Game Session error and check if the error persists.
Method 5 – Remove Game Directory from Antivirus Scan
The anti-virus software might be the culprit here. The software keeps on scanning and repairing tools and applications in the background. During this inherited habit of the software, it may disrupt the VAC settings and may cause the concerned error.
One simple solution, in this case, is to remove the Steam application from the scanning process. For this, go to settings in your anti-virus software and add the Steam application to the excluded files folder. This process varies if the anti-virus differs. However, all you need to do is to exclude the Steam file and Game directory from the scanning process.
Must Check Out:
- Err_Connection_Reset Error in Google Chrome
- Err_Connection_Reset Error in Google Chrome
- ERR_CONNECTION_TIMED_OUT Error in Chrome
- Windows Update Error 0x800705b4
- Application Error 0xc0000142
Conclusion
The ‘Valve anti-cheat’ system error can be extremely annoying and hampers the smooth functioning of the user. The problem arises out of certain unconceivable human or technical errors.
Hopefully, the above-described solutions have helped resolve the VAC Was Unable to Verify the Game Session issue and restore the gaming experience to normalcy.


