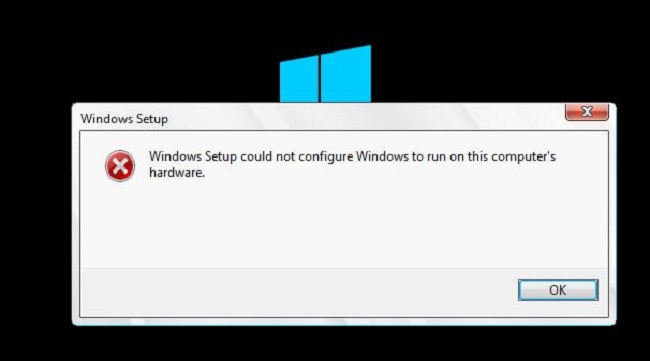
There are numerous error codes that will infuriate every user. But unlike the others, this one prevents you from even starting the process of installing Windows on your machine, as the error message makes clear.
The error typically occurs when attempting to execute Windows Setup, and the procedure just ends with the aforementioned message. This is an obvious indication that there is a problem with your computer, especially if you have a PC that can run the version of Windows you are attempting to install. To attempt an easy solution, try the methods listed below.
Contents
Solution 1: Modifying the Command Prompt
Numerous people who struggled for months with this error message have found relief thanks to this modification, and it’s interesting how the remedy can be both simple and challenging to consider.
When simply beginning the installation of Windows, the solution should be used the first time you encounter the error, and you should be able to complete the installation process.
- Press the Shift + F10 key combination to open a Command Prompt window if you receive the error warning on your PC and the Windows installation DVD is still plugged in.
- Enter the following instructions, making sure to press Enter after each command:
Windows System 32 oobe CD
Msoobe
- Verify whether you can perform the procedure once more.
Solution 2: Modify a Few BIOS Settings
There are a number of causes for this issue, but one of them is unquestionably the fact that some BIOS settings operate perfectly for earlier Windows operating systems but perform poorly on Windows 10 and frequently result in this error. Fixing this requires taking the steps listed below.
- To shut down your computer, select Shut down from the Start Menu’s Power Button menu.
- Restart your computer and attempt to access the BIOS settings by pressing the BIOS key as the machine boots up. On the boot screen, the BIOS key is normally visible and says, “Press __ to begin Setup.” There are also other prevalent messages. F1, F2, Del, Esc, and F10 are frequently used BIOS keys. Keep in mind that you will need to act quickly because the notification vanishes very quickly, necessitating a restart to try again.
- There is no standard location for the SATA option on BIOS firmware tools produced by different manufacturers; instead, it can be found under a variety of tabs. Typically, it can be found under the Advanced tab, the Integrated Peripherals section, or the Onboard devices item. Whatever the case, the option’s name is SATA operation.
- After finding the appropriate settings, switch it to ATA, AHCI, RAID, or IDE. The most practical option for installing new updates or upgrading is ATA. Select Exit Saving Changes under the Exit section to leave the current window. The boot will be applied after this. Make sure to attempt running the update once again.
- Once the procedure is complete and Windows 10 has been successfully installed on your machine, remember to adjust the settings back to their default positions.
Solution 3: Stop Overclocking Your CPU.
These issues are frequently the result of overclocking your processor, and many users have reported that the issue started when they began to overclock their PCs.
The practise of overclocking entails increasing your processor’s frequency and speed over the suggested factory specifications. This can provide your PC a noticeable speed advantage, but you must be extremely careful because there have been instances where whole PCs caught fire because people overclocked them excessively or were negligent.
Depending on the software you first used to overclock your CPU, you may be able to reset its rate and frequency to their default values. There are plenty of apps available to choose from, so utilise them to halt overclocking. Intel and AMD each have their own applications that consumers may download that allow them to overclock their CPUs.
Stop overclocking your computer, then see whether the issue reappears.
Solution 4: Having a Problem with a Specific Device
You must first be certain that this is in fact the problem in order to be prepared to implement this remedy. By removing or disabling various computer devices using Device Manager, you may verify this. Disable Device by selecting it with the right click. In this method, you can retry the procedure and verify if the issue is with the device if the error does not come back.
If you actually have issues with your drivers in the first place, you should receive the following message when you select the install option:
“Install 32-bit and signed 64-bit drivers using the Load Driver option to continue the installation. It is not recommended to install unsigned 64-bit device drivers because doing so could make Windows installations useless.
This typically indicates that the driver for that particular device is not installing correctly, and you might have to manually load it. To attempt to accomplish it yourself, adhere to the guidelines below.
- Download and extract the driver for the problematic device. The process must result in a.sys and.inf file in order to be successful.
- Copy these files to a USB drive, DVD, or CD, insert it into your computer, and launch Windows setup by inserting the Windows installation media and restarting your machine. It’s crucial that you select uninstall this time. Select the Load driver option after selecting Repair.
- Use your device’s file explorer to find your unsigned driver, which should be in the device’s root folder. Click the x button to close the Repair window after the scanner has finished looking for the driver.
- At this point, you can select the install option and carry out the standard Windows installation.


