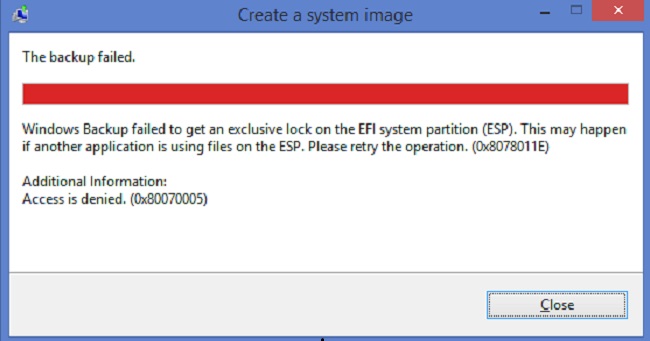
The error message “Windows Backup failed to get an exclusive lock on the EFI partition (ESP)” is typically displayed when a process is being denied access by another application. System Images are very helpful, and the majority of users typically create one whenever they attempt to complete an unfamiliar task.
If you’re unfamiliar, system images are essentially stored copies of the entire system. These backups can later be used to restore the system to exactly the same condition as it was at the time the image was taken.
However, some users have stated that they experience the aforementioned problem when attempting to create a System image. If you fit this description, use the suggestions provided below to quickly get around your problem.
Contents
What results in the Windows 10 error “Windows Backup Failed To Get An Exclusive Lock On ESP”?
If you are not using an administrator account, the error typically occurs when it is denied the necessary access. However, if you are using an administrator account and the problem persists, it may be because of the following things:
- Third-party software: In some circumstances, the error may be caused by third-party software that is currently running on your computer.
- Windows Defender or Antivirus: The limitations imposed by Windows Defender or your third-party antivirus programme may be the cause of the problem you are experiencing.
- Windows Backup Service: Lastly, if a specific Windows backup service is logged on as the incorrect user, an error may also occur.
By using the solutions listed below, you can easily solve your problem and create the system image. Be sure to use an administrator account before beginning the solutions. Don’t forget to use the solutions in the same order that they are listed below.
Solution 1: Remove Third-Party Antivirus Software
Uninstalling your antivirus programme should be your first step in isolating the problem. Some users’ Avast antivirus was preventing the process, which prevented them from successfully creating a system image. To avoid this, make sure you completely remove any third-party antivirus software you have installed on your computer, not just turn it off. This is how you do it:
- Access the Control Panel from the Start Menu.
- Select Applications and features.
- To uninstall your antivirus, find it and double-click on it.
Solution 2: Execute a Clean Boot
In some instances, it’s possible that a different third-party application—rather than the antivirus—was to blame for the error. You must run a Clean Boot in order to rule out such a possibility. Your system will boot up cleanly and with the fewest background services active.
Solution 3: Modifying the Log On User
The incorrect log-on user is most likely to blame if performing a clean boot and uninstalling the third-party antivirus don’t resolve your issue. By altering the Block Level Backup Engine Service’s log-on user, the problem can be locally isolated. This is how you do it:
- To launch Run, press Windows Key + R.
- Enter “services.msc” after typing it.
- Choose Block Level Backup Engine Service from the list of services.
- Click it twice to bring up Properties.
- Click the Log on tab, then select the “This account” checkbox.
- Select Advanced after selecting Browse.
- Select Find, then double-click your user account in the list of users.
- If your account requires a password, enter it in the relevant fields.
- Select Apply, then press OK.
- Reboot your computer.
Solution 4: Utilize Third-Party Software
Finally, if none of the aforementioned options work out for you, you should use a third-party application. You can use a variety of image cloning programmes, including Macrium Reflect, Casper, Acronis Trueimage, and others. Simply download anyone who is straightforward and worry-free create a system image.


