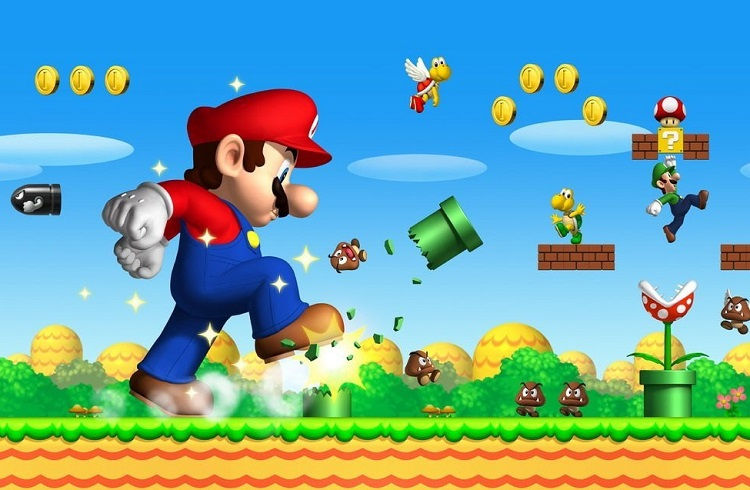
Ever since its launch in 2005, Nintendo DS emerged to be a remarkable console of the gaming industry. Being an iconic handheld console, the DS led to the development of innumerable inventive games, including Pokémon, Dragon Quest, Trauma Center, Metroid Prime Ball, along with multiple series of Mario- the Mario Kart and New Super Mario Bros.
While the massive popularity of DS games continues, but the good news is that now you can replace the old-fashioned handled console with advanced and innovative Raspberry Pi. Great for emulations, the wonders of Pi is not just limited to Nintendo DS games, instead you can use it for SNES (Super Nintendo Entertainment System), Atari, Sega, SNK Neo Geo, and PlayStation games too.
Contents
Transforming Raspberry Pi into an Emulation Machine
To play Nintendo DS games on Raspberry Pi, you need to build a full-fledged emulation system. For doing this, there are five steps to look after:
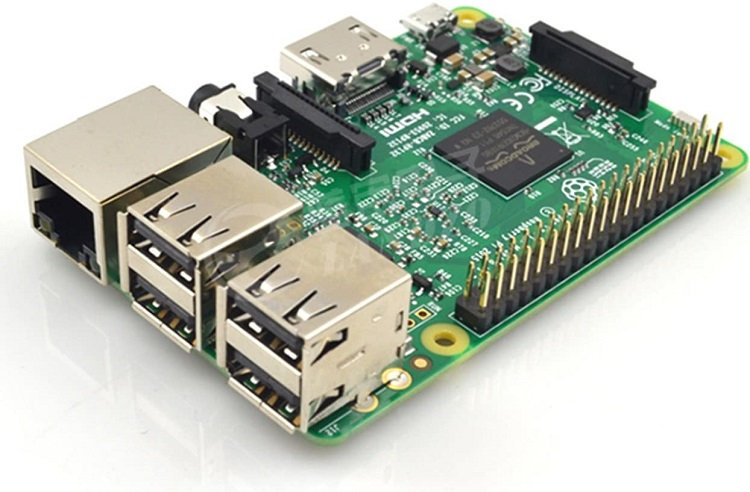
Step 1: Invest in the Hardware
Get the finest quality hardware to support the emulation system. Some of the important parts of the system are:
- Raspberry Model Pi 3
- A genuine Pi Case and
- Power Supply Compatible with Raspberry Pi
Apart from this, an HDMI cable and TV are also needed for connecting the Raspberry Pi system to the television set.
Step 2: Download the Software
The core of the emulation system lies in the software that you use. For this, you require:
- A platform for ROM games and
- SD Card writing tool for Mac and Windows
When it comes to Nintendo DS ROMS download, go for a trustworthy platform that supports Raspberry Pi, allowing you to have just the file that you want without any complications.
Next, download the software that will write the disk image of the ROMs file into an SD card. With this, you can ensure the file system used by ROMs is the same as that used by Mac and Windows.
Step 3: Assemble Hardware of Raspberry Pi
After you are done downloading the much-needed software, the next step is to assemble your Raspberry Pi system.
- Affix the heat sinks to the main chip of the Pi board.
- Open Pi case and then insert Raspberry Pi into the case.
- Remove SD card using for writing and insert it into the Pi board.
- Plugin the keyboard, USB cable, and HDMI port before you start the system.
Step 4: Configure the Software
The moment you plug in Raspberry PI, a pop-up will appear, with several text messages around the screen. The messages are Linux boot commands that aid in troubleshooting. They are general messages, if things go as planned, you can ignore these messages.
After a few seconds, you will find an Emulation Station that can be used for configuring the system-wide settings and primary control of the games. If you want to play Nintendo DS games in default settings, skip the configuration part. However, for seasoned players, it’s highly recommended to customize the configurations to play your game, your way!
Step 5: Copy Nintendo DS Games to Raspberry Pi
Now, that you have successfully set up the software and hardware, the last step is to get the gaming files into the Pi. This can be done using several methods, and the easiest one is Windows file sharing which will work both on Mac and Windows machines.
- On Mac: Open Finder and click on ‘Go’ from the menu and then select ‘Connect to Server’. A box appears. In the box, type the name of the software and then select Connect.
- On Windows: Open theWindows Explorer and then type the name of the software at the location bar.
Once the Pi is connected via file sharing, the ROMs sharing folder can be used for copying everything. After this, restart the Pi system using Emulation Station, and the Pi will tend to recognize every game automatically. It’s done, sit back, and enjoy any Nintendo DS game that you want to play.
Conclusion
Nintendo DS games and Raspberry Pi is a combination that will never disappoint the gamer within you. Just follow the systems mentioned above and find yourself surrounded by a never-ending world of retro games that completed your childhood.
")


