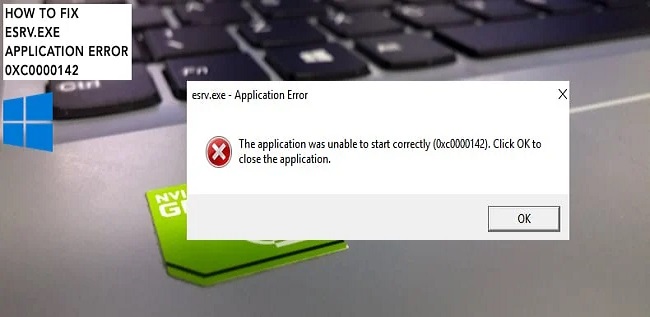
The esrv.exe application error in Windows 10 has recently been widely reported as happening on every startup. Since it occurs on updated computers as well, the issue is unrelated to the Windows 10 technical preview builds. The complete error message is as follows:
esrv.exe – Application Error: The programme could not launch properly (0xc0000142). To end the application, click OK.
The pop-up disappears temporarily after pressing the OK button, but it returns the following time the system starts up. The issue seems to be more likely to arise when users install a sizable Windows update or upgrade from a previous version of Windows to Windows 10.
Contents
Understand the Windows 10 EVSR.EXE Application Error
Esrv.exe is a process that is associated with Intel Driver Update. The error message suggests that either manually by users or automatically by Windows Update during the installation of an update, the Intel Driver Update was not properly removed or handled.
As a result of the removal’s ineffectiveness, some of its components might launch the esrv.exe process each time they are started. Windows 10 displays the esrv.exe application error because it is unable to locate the specific process linked to it.
Intel Driver & Support Assistant recently took the place of Intel Driver Update support. When Windows tries to make the transition on its own, it’s possible that something goes wrong and an error message appears on the screen.
Read Also:
- Problems at D.C. Jail Were Ignored Until Jan. 6 Defendants Came Along
- Seth Meyers Muses on Trump’s Weekend Lowa Rally
Fixes For the Windows 10 EVSR.EXE Application Error
If you are experiencing this problem, use the troubleshooting steps listed below to allow the problem to be fixed:
Fix 1: Remove the Latest Intel Drivers
You should first uninstall the programme that is associated with it. Following the instructions below, you can uninstall Intel Driver Update the conventional way:
- Press Win+R, enter appwiz.cpl, and then click OK.
- Scroll down to Intel Diver Software in the newly opened Programs and Features window, then right-click it and select Uninstall.
- To get rid of it, adhere to the on-screen instructions.
- Restart the computer after closing Programs and Features.
- Check to see if the problem has been fixed now.
- In that case, head back to Programs and Features to see if Intel Driver Software has been replaced by Intel Driver & Support Assistant.
- If not, manually download the utility.
Do not be reluctant to uninstall Intel driver Update. Intel Driver & Support Assistant has already taken its place. If this option is unsuccessful, try our backup plan.
Fix 2: Rename each EVSR.EXE Instance
Some users who experience esrv.exe application errors in Windows 10 can manually fix the problem by locating every instance of esrv.exe and running the file’s extension. Here is a brief explanation:
- Access the C drive in File Explorer.
- Use the search box in the top right corner of the drive to look for esrv.exe in the root section.
- Click Remove from the right-click menu when you see any instances of esrv.exe in the displayed window.
- old to the end of the extension, and your OS will no longer recognise that file.
- To confirm the change, select the Yes option on the Rename menu that appears. Then, reboot the device to see if the issue is resolved.
Fix 3: Remove the Startup Key Connected to EVSR.EXE Using Autoruns.
You should remove the startup keys that are calling the esrv.exe service if none of the aforementioned methods are successful. We advise using Autoruns, a programme designed to delete startup folders, run, runonce, and registry keys.
Since the issue arises upon every startup, it might be the result of a schedule task left over from a bad un-installation or some bugs. To stop the error from appearing, follow the instructions below to remove the startup mention of esrv.exe:
- Download Autoruns, then use a decompression programme to extract the content into a folder that can be accessed.
- Double-click the Autoruns executable in the folder where you extracted the contents.
- The initial window will reappear, and the startup items will all be loaded.
- Click Find Next after pressing Ctrl + F, typing esrv.exe in the search box
- To remove the startup item, right-click on the first instance that is blue highlighted, and then select Delete.
- Repeat the process, using the search function each time, until there are no longer any startup items that mention esrv.exe,
- Restart your computer right away after closing Autoruns.
- When Windows 10 starts up again, the esrv.exe application error should be gone.
Read Also:
Conclusion
That’s it. For the esrv.exe application error in Windows 10, we have offered every solution that is conceivable.
I sincerely hope that these techniques aid you in obtaining the required correction. Please use the comment section below to contact us with any questions, concerns, or suggestions.
")


