While using google chrome we came across many errors. For example- our network connection is working properly on other browsers or apps but not one google chrome. Like the same, we have another error, ERR_NETWORK_CHANGED.
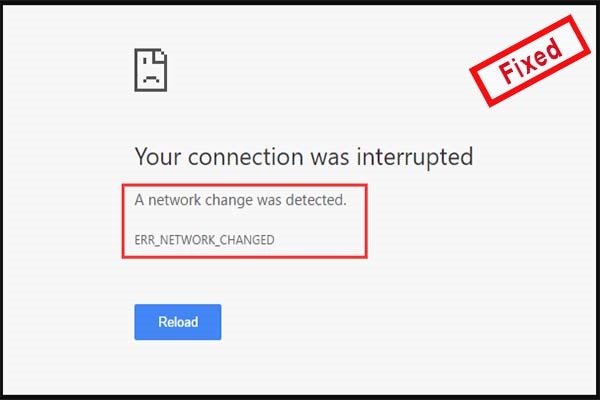
Many people reported this error. In this error, the site doesn’t load the content and we get only the text ERR_NETWORK_CHANGED on the whole page. Also sometimes this error appears with an error message ‘Unable to access the network’ or ‘your connection was interrupted. This error can be problematic because it doesn’t allow us to access the website.
One of the reasons behind causing this error is somehow related to third-party software that has been installed on your computer or pc which causes a clash with the web connectivity.
Sometimes DNS settings is also changed due to changing VPN settings or maybe additional adapters are installed which led to this error. Also, chrome undergoes this error when it discovers a change in the IP address of your PC.
Contents
Fix ERR_NETWORK_CHANGED In Chrome
Before fixing this error, you need to make sure that you have a stable network connection. There are many ways to fix this error. But from the below solutions every solution may or may not work for your pc or computer. So, you need to check which one is working for your device and need to change that as well.
Go through the given methods carefully and go through them.
Method 1: Check For a Modification in DNS Settings
DNS stands for “Domain Name System”. To change the DNS settings, follow the following steps as stated:
Step 1: First of all, press the window button and then search Control Panel.
Step 2: Now, from doing this a new window will be in front of us with many options. From those options, you need to select Network and Sharing Centre.
Step 3: Then, go on the change adapter settings on the left side of the window. By selecting this option you will get many adaptors installed on your computer or pc.
Step 4: Afterwards, right-click on the adaptor you would like to change, then select the option properties.
Step 5: By moving ahead, you will get a new window and then you need to select Internet Protocol Version 4 (TCP/ P4) and then click on the option properties.
Step 6: Finally, have a look at the option use the following in IP address. Do not fill in anything in that.
Now, only one option is left i.e. Obtain an IP address automatically. And now your DNS settings are modified.
Method 2: Checking For LAN Settings
LAN stands for “Local Area Network”. LAN settings can also change DAN settings. So. LAN settings need to be checked. Below are the steps to check and rectify the LAN settings:
Step 1: Firstly, press the window button and then select Control Panel.
Step 2: Then, a new window will be in front of you. Then at the right corner, there is a search option. Type Internet Options there.
Step 3: Afterwards, select connections from the above options then a new window will be in front of you. And then you need to choose LAN settings from there.
Step 4: Now, clear the option Use to the Proxy server for your LAN to use an automatic configuration script.
Step 5: At the end, enable automatically, detect settings.
Method 3: Resetting TCP/ IP
Step 1: Firstly, click on the window button and then select Command Prompt option from there.
Step 2: Now, right-click and then click on Run as Administrator, and a new tab will be in front of you.
Step 3: Moving ahead, if prompted select Yes to allow the changes to be made to the computer or your pc.
Step 4: Lastly, you need to type netsh int IP reset, and then press enter. By these steps, you are done with Resetting TCP/IP.
Also Read: 1) Windows Update Error 0x8024200D [RESOLVED]
2) Error Code 0xc1900208 [RESOLVED]
Method 4: Clear The Browser Cookies and Caches
Step 1: First of all, open chrome on your mobile phone.
Step 2: Now, tap on the three dots on the top of the right corner and go on the option more tools.
Step 3: Then, there is an option to clear browsing data, select that. Further, click on the advanced option.
Step 4: Moving ahead, there will be an option that you need to select “Range”. Now, after selecting this option click on all time.
Step 5: And lastly, select the options Cookies and site data, Cached images and files and browsing history and at the end click on the button clear data.
Follow the same steps for clearing browser cookies and caches from your pc as well.
Method 5: Reinstall Network Adaptors
Reinstalling Network Adaptors is one of the other methods to get rid of this error. You need to follow the given below steps to reinstall network adaptors.
Step 1: First of all, press the window button with R.
Step 2: Now, type hdwwiz.cpl and then enter.
Step 3: Moving ahead, select Expand Network Adaptor that you want to uninstall.
Step 4: Then, right-click on the selected adaptor and then select the option to uninstall and uninstall that adaptor.
Step 5: Lastly, reboot your computer. The adaptor should be automatically reinstalled.
If the adaptor is not installed after restarting your computer then go to google and download it from the manufacture’s website.
Method 6: Delete WLAN Profiles (Wireless Profiles)
If all the above methods are not working for you then give this method a try as well. Following are the steps to delete WLAN Profiles:
Step 1: Firstly, press the Window key with X. And then select Command Prompt option from there.
Step 2: Now, right-click on the option and then click on Run as administrator.
Step 3: Further, to view wireless network profiles saved type the following:
“netsh wlan show profiles”
Step 4: Afterwards, Remove all the wi-fi profiles.
Step 5: At the end, reconnect to only your wi-fi.
This is how you can Delete all unwanted WLAN Profiles. These are the ways by which you can fix this error.


