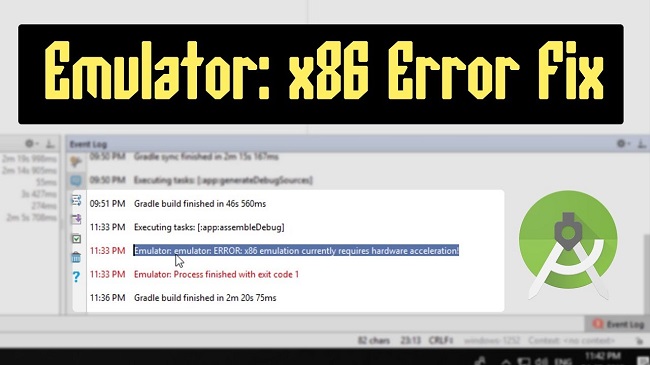
When attempting to launch the AVD in Android Studio, some users receive the error message “x86 emulation currently requires hardware acceleration!” After the user tries to compile an application using Android Virtual Device, the problem typically arises shortly after.
As it has been reported to happen with both newer and older builds of Android Studio, the problem is not unique to any one build. There have been reports of the error occurring on Windows 7, Windows 8, and Windows 10. This indicates that the error is not specific to any one version of Windows.
Contents
The Message “x86 Emulation Currently Requires Hardware Acceleration!” What is it Caused by?
We looked at various user reports and the troubleshooting techniques used by some affected users to look into this specific issue. We discovered that there are a few typical situations that will result in this specific error message:
- This error may appear because a BIOS setting on your CPU prevents it from using the built-in hardware virtualization technologies.
- Intel/AMD Virtualization technology is not enabled from BIOS. The best course of action in this situation is to access your BIOS settings and turn on hardware virtualization.
- One of the most frequent causes of this error is that the Intel HAXM module is missing from Android Studio. There are two steps involved in installing Intel HAXM ( downloading the module via the SDK manager and running the installation executable).
- Conflict between Avast’s hardware-assisted virtualization and Android Studio’s AVD – The problem may also arise as a result of a well-known conflict between Avast’s virtualization technology and the built-in virtualization technology. This feature from a third party is also known to clash with a number of other programmes.
- The Windows Hypervisor Platform is disabled for AMD CPUs, even though all recent AMD CPUs support hardware virtualization. However, you must make sure that the Windows Hypervisor Platform is turned on from the Windows Features screen in order for the virtualization feature to function.
- Hardware virtualization is not supported by the computer’s CPU – Older CPU models may be affected by this situation. If the equipped CPU does not support hardware virtualization, you will not be able to fix this error message unless you upgrade to a newer CPU.
This article will give you a list of tried-and-true troubleshooting techniques if you’re currently having trouble fixing the “x86 emulation currently requires hardware acceleration!” error. You can find a number of solutions to the problem that other users who are experiencing it have used down below.
We recommend that you use the strategies listed below in the order that they are presented in order to maintain maximum effectiveness. Eventually, you ought to find a solution that works for your specific problem.
Method 1: Installing the Intel HAXM
Let’s make sure the problem isn’t actually caused by the Intel x86 Emulator Accelerator being missing before accessing the BIOS settings (HAXM installer). Even if hardware virtualization is enabled on your computer, AVD will not be able to compile applications that use it without this module.
When the missing module was downloaded and installed using the HAXM installer, several users who were experiencing the same error reported that the problem was resolved permanently. For detailed, step-by-step instructions, refer to the list below:
- Open SDK Manager in Android Studio by selecting Tools > Android > SDK Manager.
- Open the Extras menu and select the Intel X86 Emulator Accelerator checkbox (HAXM). Simply select Install Packages after that, and wait for the process to be finished.
- Now that the HAXM installer has been downloaded, we must follow the proper installation procedures. It can be installed by going to the following location and double-clicking on intelhaxm-android.exe:
- Wait for the Intel HAXM installation to finish by following the on-screen instructions.
- Check to see if the problem has been fixed by restarting Android Studio and running the application once more.
Continue to the next below if you’re still getting the “x86 emulation currently requires hardware acceleration!” error.
Method 2: Removing Avast’s Hardware-Assisted Virtualization
If you use Avast as an additional layer of security, one of its security features most likely caused the error. Avast’s hardware-assisted virtualization is known to clash with Android Studio’s AVD, resulting in the error “x86 emulation currently requires hardware acceleration!” as many users have noted.
If you have Avast installed and this situation applies to you, follow the steps below to disable hardware-assisted virtualization from the security program’s Settings menu:
- Launch Avast and go to the Settings section.
- On the Troubleshooting tab in the Settings menu, make sure the boxes for Enable hardware-assisted virtualization and Use nested virtualization where available are unchecked.
- Restart your computer, and upon startup, check to see if the conflict has been resolved. Run the programme in Android Studio to check if the issue has been fixed.
Continue to the next method below if you’re still getting the “x86 emulation currently requires hardware acceleration!” error when running the AVD.
Method 3: Using BIOS/UEFI Settings to Enable Hardware Virtualization
It’s likely that the error message is occurring because hardware virtualization is disabled in your BIOS/UEFI settings if the first method didn’t help you fix it.
In typical circumstances, hardware virtualization ought to be turned on by default; however, manual intervention, BIOS updates, and even some third-party software may disable this technology.
Remember that the procedure for enabling hardware virtualization will vary depending on your BIOS/UEFI settings, your motherboard, and the maker of your CPU.
Entering your BIOS or UEFI Settings, however, would be the first step. You must press the Setup key during the initial booting sequence if your computer has the BIOS legacy settings menu. The specific setup key ought to be visible on the first screen, but if it isn’t, you can look it up online by searching for “*motherboard model + setup key*.”
You must first access the Advanced Startup menu if your computer has the more recent UEFI model. To do this, open the Run dialogue box by pressing Windows key + R, type “ms-settings:recovery,” and press Enter to launch the Settings app’s Recovery menu. When you get there, just select Restart now from the Advanced startup menu.
Your computer will restart into the Advanced options menu after a while. Once there, select UEFI Firmware Settings under the Advanced Options menu.
Start looking for the hardware virtualization option once you’ve gained access to your BIOS or UEFI settings. Your BIOS/UEFI version will determine the name that this setting is listed under.
It is typically identified as either Intel Virtualization Technology (VTx/VTd), AMD-V Virtualization, or Virtualization technology (VTx/VTd). The possibility will most likely be found under Chipset, Processor, Advanced CPU Configuration, or a similar category.
When you finally succeed in turning on hardware virtualization, save your BIOS/UEFI changes, restart your computer, and check to see if the issue is fixed when it starts up again.
Method 4: Activating Windows Hypervisor Platform (if Applicable)
The problem might have occurred because Windows Hypervisor Platform was not turned on in your system if you’re having trouble using virtualization technologies with an AMD CPU (newer CPU models like Ryzen).
But keep in mind that you must have Windows 10 build 1803 or an earlier version in order to activate this feature.
The Turn Windows Feature On or Off screen is where you turn on the Windows Hypervisor Platform. Here is a brief explanation of how to do it:
- A Run dialogue box will appear when you press the Windows key + R. The Programs & Features screen will then appear after you type “appwiz.cpl” and press Enter.
- In the left-hand pane of the Programs & Features page, select Turn Windows features on or off.
- To activate the feature, select the Windows Hypervisor Platform check box in the Windows Features window and click Ok.
- Restart your computer to check if the issue has been fixed.


